How To Change a Flat Tire

You’re driving to an important meeting or doctors appointment when you hear that awful flapping noise coming from your back tire. Looks like you’ve got a flat.

Getting a flat tire is something that’s bound to happen to almost every driver. In fact, according to statistics, every driver will experience an average of 5 flat tires in their lifetime. What’s worse is that it always seems to happen at the worst possible moment.

Fortunately, you don’t have to go it alone. Changing a tire is a simple process that can be done in 15-30 minutes depending on experience. All you need is a couple of tools that you might already have in your car. If you don’t, they can be found at your local auto parts supplier at inexpensive prices.

So, before you pick up the phone and call a tow truck, see if you can change the tire yourself.
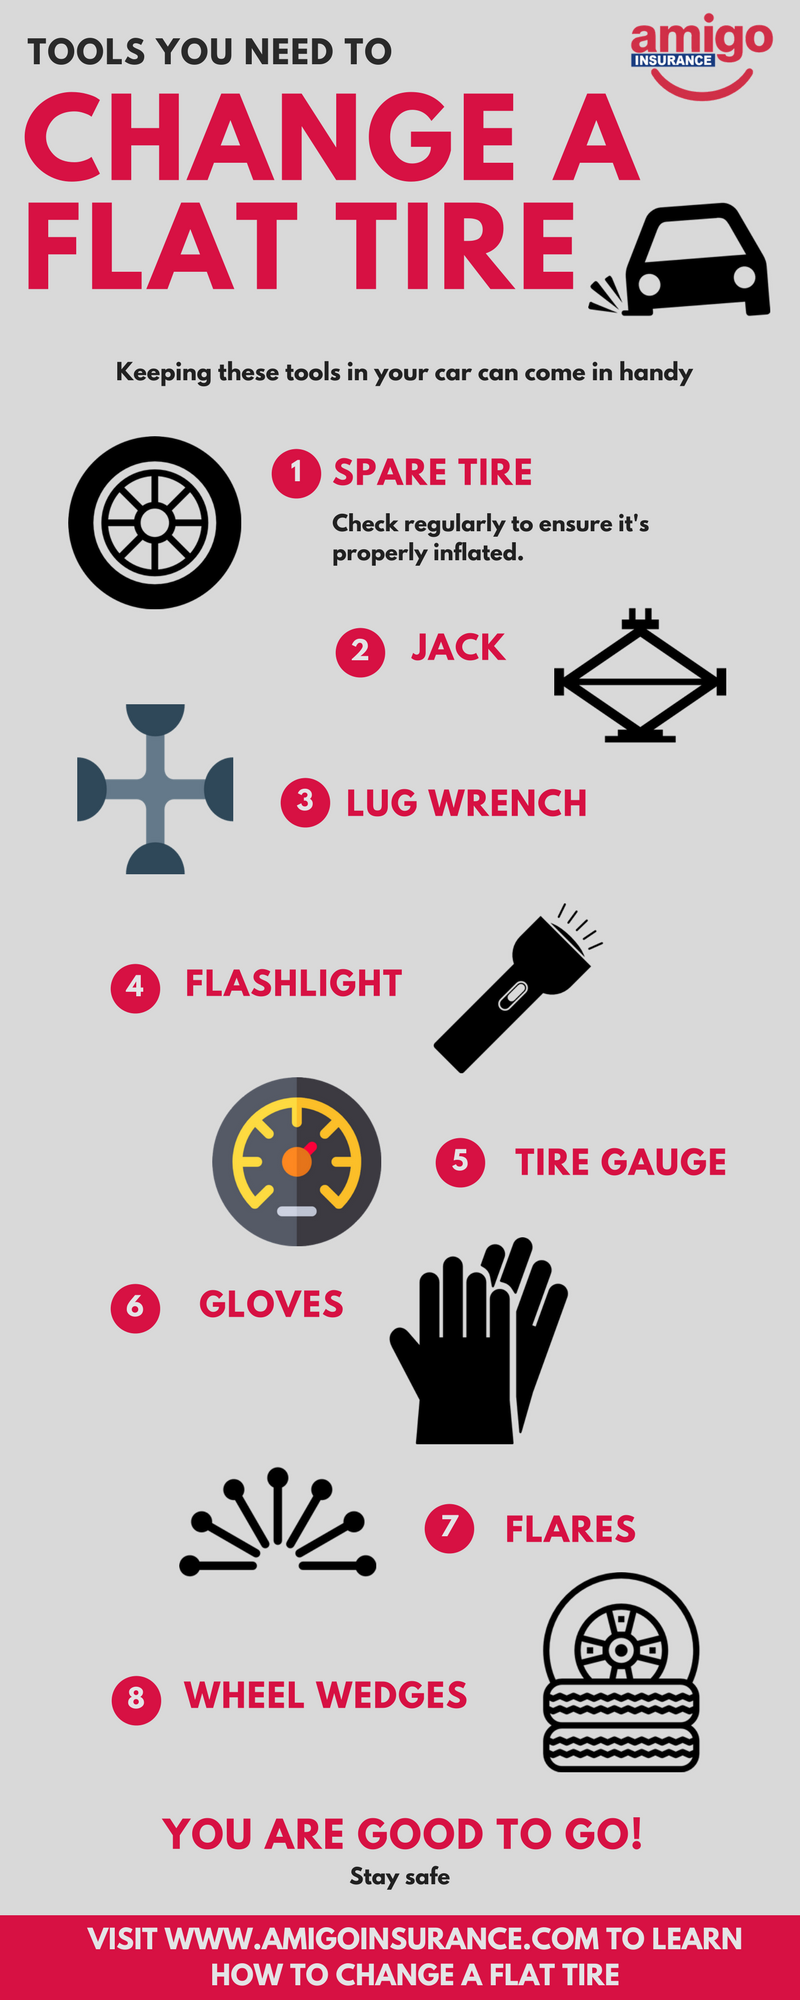
Tools You’ll Need

  • Spare Tire (TIP – check your spare regularly and ensure it’s properly inflated)
  • Jack
  • Lug Wrench
  • Flashlight
  • Tire Gauge
  • Gloves
  • Flares or Reflective Triangles
  • Wheel Wedges
  • Owner’s Manual
act like a car
  • Step One: Find a safe spot to pull into. If a tire blows out whilst on the road, turn your hazard lights on and pull into a safe space. If you’re on a busy street or highway, try to pull away from traffic as far away as possible. Suitable areas include parking lots, the shoulder of an off-ramp or a straight, flat, side street. Try to avoid any areas at an incline.
  • Step Two: Once in a safe area, make sure your parking brake is engaged and get your tools and spare ready to use.
  • Step Three: If on hand, use flares or reflective triangles on the back of your vehicle. These are particularly handy if you get a flat tire in the late afternoon or night. They will let other drivers know that a vehicle has stopped.
  • Step Four: Use the wheel wedges and place them against the tires on the opposite side of the flat. This will help make sure that the vehicle is secure while you use the jack.
  • Step Five: Remove the hubcap. If the lug nuts are exposed, you don’t have to do this step. Using the flat end of the lug wrench, remove the wheel cover.
  • Step Six: Loosen the lug nuts with the lug wrench. Do Not Remove.
  • Step Seven: Move jack under your car.
  • Step Eight: Carefully expand the jack until the flat tire is about 5-6 inches off ground. Remember not to place any part of your body under the vehicle. A fault in the jack could result in serious injury if not careful.
  • Step Nine: Unscrew and remove lug nuts. Be careful not to lose them as you’ll need them once the spare is on.
  • Step Ten: Remove the flat tire from the hub by placing two hands firmly on the tire and pulling towards you.
  • Step Eleven: Align your spare tire with the exposed lug bolts and push them into place.
  • Step Twelve: Replace the lug nuts with your hands. Don’t use the wrench until after your vehicle has been lowered.
  • Step Thirteen: Lower the jack until the spare tire touches the ground safely. Once on the ground, remove the jack.
  • Step Fourteen: Using the lug wrench, tighten the lug nuts. Make sure they are tightly secured.
  • Step Fifteen: Replace the hubcap or wheel cover.
  • Step Sixteen: Remove wheel wedges from the tires you previously placed them on.
  • Step Seventeen: If you have a tire gauge, check the spare tire’s pressure. If it does not match your vehicle’s PSI, drive to your nearest gas station and fill accordingly.

Keep in mind that it’s not advised to go long periods of time on a spare tire. It’s recommended you take your flat tire to a repair shop and get it replaced or repaired.

While changing your own tire can certainly save you a couple of bucks, safety should always be your number one priority. Consider the weather, location or tool condition when deciding if you should do it yourself or call for help.

Signed,
Amigo Insurance

amigo smile
How-to-change-a-flat-tire
Questions? Call Us

If you have any questions about a current policy, submitting a quote online, or prefer to get a quote over the phone, our agents are ready to help.

773-847-9000

Visit an Office

Find a local agent to provide a free quote or help you with questions about your current policy.

Find a Nearby Location

Road Rage – How to Avoid “Hulking Out” When Driving

Road rage – It gets even the best of us. You’re calmly driving to your destination when another driver decides to cut you off, nearly hitting your car in the process. In this or any other similar scenario, it can be very easy to fall back on anger. However, driving while angry is not the best time to make objective or safe driving choices. One quick lapse of judgment, on either side, could potentially send someone to the hospital, or worse.

According to the AAA Foundation for Traffic Safety’s Aggressive Driving Study, over 78% of US drivers engage in at least one aggressive behavior per year. Some of those aggressive behaviors being:

  • Tailgating
  • Giving someone the finger
  • Purposefully driving slow
  • Cutting people off
  • Not allowing others to pass or Blocking
  • Aggressive honking

It seems that aggressive driving is a common occurrence that many US drivers will likely face at some point. But what can you do when you find yourself in a hostile driving environment?

  1. If you’re being tailgated – Move over. It’s better to step aside and let the aggressive driver go on than risk having them follow you for miles. Make sure you’re not going to start tailgating them yourself out of anger.
  2. Avoid eye contact. Sure, you may want to peek over and see who it is that’s being kind of a jerk, but making eye contact with an already angry driver can escalate the situation.
  3. Apologize (wave hand gesture) if you made a wrong move. We all make mistakes. Unfortunately, sometimes being the bigger person can be difficult. But, in a situation that could easily get ugly, it’s better to just apologize than have angry drivers on your tail. Give the “wave” hand gesture and mouth “I’m Sorry” to them if you feel like you may have made a wrong maneuver or cut someone off yourself.
  4. Allow plenty of room for others to pass you. If you notice that a car, or cars, are attempting to pass you, give them room. Blocking other drivers can make the situation a lot more frustrating for both of you.
  5. Use your horn moderately. Honking excessively can make the situation worse. Try not to overdo it.

Of course, emotions are often difficult to control. So, if you still feel like taking matters into your own hands, you should try:

  • Getting out of traffic and pulling over to a safe location to unwind
  • Remain calm by taking deep breaths, listening to music, or calling a friend to help cool you down
  • Think of the consequences that could come with exacting any type of revenge on another driver

You must also remember the added repercussions of acting on road rage such as going to court, paying legal fees, jail time, physical injury to yourself and passengers, damages to your vehicle or even death.

So, before you decide that following the driver who cut you off is a good idea, remember to take deep breaths and realize that any vengeful action comes with heavy consequences.

Signed,
Amigo Insurance

amigo smile
road rage.jpg.838x0_q67_crop-smart
Questions? Call Us

If you have any questions about a current policy, submitting a quote online, or prefer to get a quote over the phone, our agents are ready to help.

773-847-9000

Visit an Office

Find a local agent to provide a free quote or help you with questions about your current policy.

Find a Nearby Location

How to Jump a Car Battery

You hop in your car, ready to go, only to hear a strange clicking noise when you turn your keys in the ignition. It sounds like your battery is dead.

So now what? An experienced driver likely knows how to approach the situation. But what about those who’ve never dealt with the frustration of their car not turning on?

Here’s a step-by-step guide to help:

1

1) Suppose a friend or any Good Samaritan offers to help. Have them drive the GOOD CAR up to YOUR CAR so the batteries are as close as possible.

2

2) Attach the red ‘positive’ cable to the GOOD CAR battery terminal, then attach the other red ‘positive’ cable TO YOUR car battery terminal.

3) Attach the black ‘negative’ cable to the GOOD CAR battery, then ‘ground’ the car by attaching the other black ‘negative’ to a solid, unpainted metal surface on YOUR CAR (such as a bolt), as far away from the battery as possible. Avoid any moving parts in the engine.

4

4) Start the GOOD CAR first, wait 2 minutes, then start YOUR CAR, wait for 2 minutes.

5

5) Remove the cables in the REVERSE order they were attached in (i.e Black/Your Car, Black/Good Car, Red/Your Car, Red/Good Car)

6

6) Let YOUR CAR run for 2 more minutes then hit the road.

Remember:

Red Goes to Red – RED = Positive +

Black Goes to Black – BLACK = Negative –

No Luck?

If this doesn’t work, it may mean that the terminals in your car battery are no corroded. You may want to move them back and forth to try and get a connection and get rid of some of the gunk on them. If you have an older car, it could also just mean that your battery is old. If that’s the case, it’s time to replace the battery.

Make sure to always have jumper cables in your trunk just in case an accident happens.

Signed,
Amigo Insurance

amigo smile

Electric shock hazard: Failure to follow these step-by-step instructions could result in electrical shock or other serious injuries. If you’re unsure about anything in this article, please contact a mechanic or another car specialist.

can-a-goal-zero-yeti-solar-generator-jump-start-a-car
Questions? Call Us

If you have any questions about a current policy, submitting a quote online, or prefer to get a quote over the phone, our agents are ready to help.

773-847-9000

Visit an Office

Find a local agent to provide a free quote or help you with questions about your current policy.

Find a Nearby Location

Get a Quote the Way You Want

click

Online

Start a Quote

phone

By Phone

773-847-9000

in-person

In Person

Find a Location